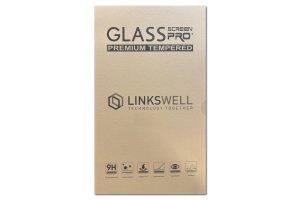
Installation of the screen protector must be done in a clean, dust-free environment, free from drafts. This means that, if done in the vehicle, the doors must be closed with the HVAC fan off and after waiting for a few minutes to allow as much airborne dust to settle as possible – you need to keep dust particles to an absolute minimum for a satisfactory installation!
- STEP 1: The screen protector should fit your screen with about 1mm clearance to the plastic bezel on all sides. Perform a test fit to determine how the protector will be centered once applied and remember this in STEP 4.
- STEP 2: Begin by rigorously cleaning the radio’s touchscreen with your preferred glass cleaner solution and new, clean microfiber towel – DO NOT USE A PAPER TOWEL – paper towels leave massive fiber residue!
- STEP 3: Prepare a “dust collector” for removal of any dust that settles on the screen after cleaning. This can be a piece of packing tape or painter’s tape – anything that does not leave any residue on the screen. Alternatively, you can completely cover the screen in tape, which will protect it from dust as well as pull up any dust that has settled, then remove it once you are ready to proceed with step 4.
- STEP 4: Peel up the film labeled “SIDE 1” from the screen protector so that it exposes about half of the screen protector (we recommend exposing the long side).
- STEP 5: Carefully align the exposed edge of the screen protector with the edge of the screen, making sure it is centered vertically and horizontally. NOTE: Keep in mind the clearance to the plastic bezel you determined in STEP 1.
- STEP 6: Slowly peel away the film while allowing the screen protector to adhere to the screen as you pull it off.
- STEP 7: Once the screen protector is installed, carefully work out any remaining bubbles with a credit card or squeegee.
- STEP 8: Only when you have worked out all the bubbles, peel the film labeled “SIDE 2”.