
Car Show iGo Primo Support
| iGo Primo is just about the most customizable mapping software in the world, with dozens of utilities, skins, add-ons and other tools available on the internet. We love anything that allows you to use the system the way that YOU want to, and some of these tools are pretty amazing in allowing you to change the features and functions of your system. | |
| Everything we link to here is used AT YOUR OWN RISK and we cannot be held liable for any damage to your unit, loss of data or any and all other unintended consequences of using any utility presented. Although we do our best to test everything we present, it’s impossible to try every modification in every scenario. | |
| BEFORE ATTEMPTING ANY MODIFICATIONS TO YOUR MAPPING SOFTWARE YOU MUST BACK UP THE SOFTWARE USING THE NAVIEXTRAS SYNCTOOL! | |
| IF YOU DO NOT KNOW HOW TO BACK UP YOUR DATA, DO NOT ATTEMPT TO USE ANY TOOL OR MODIFICATION PRESENTED HERE!!! | |
| WE ARE NOT RESPONSIBLE FOR ANY DAMAGE OR LOSS OF DATA YOU MAY SUFFER AS A RESULT OF USING ANY TOOL OR METHOD PRESENTED HERE!! WE ARE NOT RESPONSIBLE FOR THE CONTENTS OF ANY LINK PRESENTED HERE – FOLLOW THEM AT YOUR OWN RISK!!! |
| The purchase of your navi system comes with the “Latest Maps Guarantee”, giving you a one-time FREE map update if there has been an update to the mapping system since your database was loaded at the factory.THIS OFFER IS ONLY GOOD FOR 30 DAYS AFTER THE UNIT HAS RECEIVED ITS FIRST GPS SIGNAL! You can register your maps at www.naviextras.com Choose “Rosen Piranha” as the model of radio. Follow the next steps to backup your system and update the maps. |
| Download the NaviExtras SyncTool:You will need to have a minimum 4GB USB Flash drive formatted to FAT32 file system.NOTE: IT IS IMPORTANT THAT YOU FORMAT THE USB DEVICE PRIOR TO USING IT – READ ERRORS MAY OCCUR IF THE USB DEVICE IS NOT FORMATTED PRIOR TO USE! How to start Synctool: 1. Download synctool from HERE. 2. Copy the unzipped folder into the root folder of the USB stick.3. Start the radio, and AFTER the navigation is running, insert the USB stick into the device.4. Wait 30 seconds for SyncTool to start5. Synctool starts. At the first use, push “Prepare USB stick for Update“.6. When it is done, follow the steps and exit the Synctool software. Connect the USB stick to the computer and start Naviextras Toolbox. |
| The official way to backup, restore and update files on your map SD card is to use the NaviExtras toolbox, available as a free download from www.naviextras.com. This software will allow to backup and restore your data (this should be the first thing you do!), update your existing maps, purchase new maps, and add additional POI’s from your own lists. You will also be able to explore your SD card’s contents:
|

| When entering the navigation mode, there is a warning that requires you to hit “ACCEPT” every time indicating that you acknowledge that you will use common sense in following the instructions given to you by the navi system. This warning can easily be overridden, resulting in going straight to the map. NOTE: You will need to use common sense when following navigation instructions, watch your surroundings and don’t drive into a swamp just because your navi tells you to! THIS MODIFICATION MAKES CHANGES TO YOUR SYSTEM FILES! CONSIDER DOING A FULL BACKUP OF YOUR DATA PRIOR TO ATTEMPTING THIS MODIFICATION! ADC MOBILE IS NOT RESPONSIBLE FOR ANY CONSEQUENCES STEMMING FROM YOUR MODIFICATIONS!!!
| |
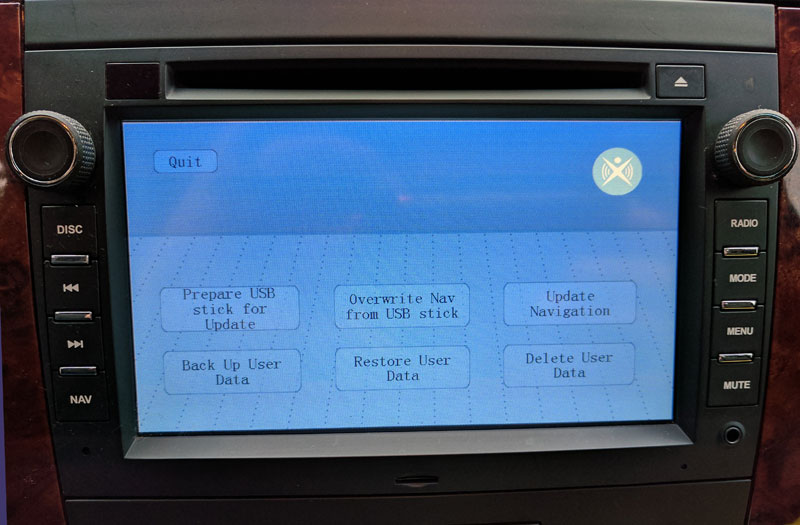 | SyncTool Menu will pop up |
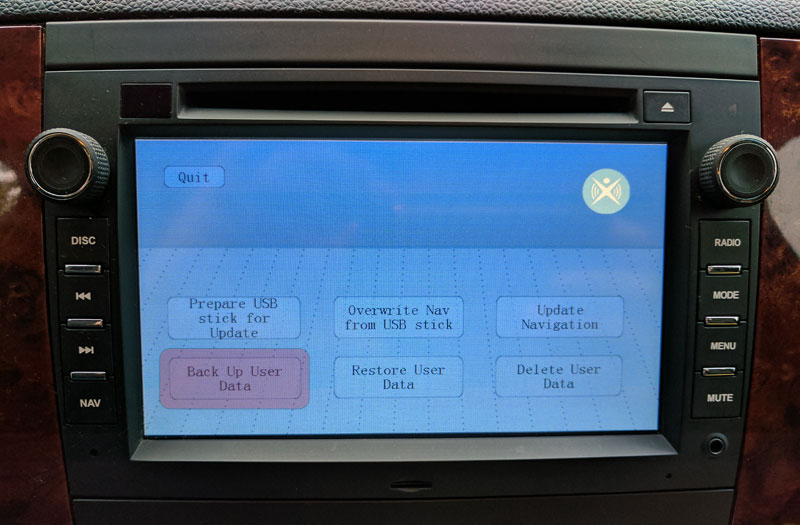 | Press “Back Up User Data” |
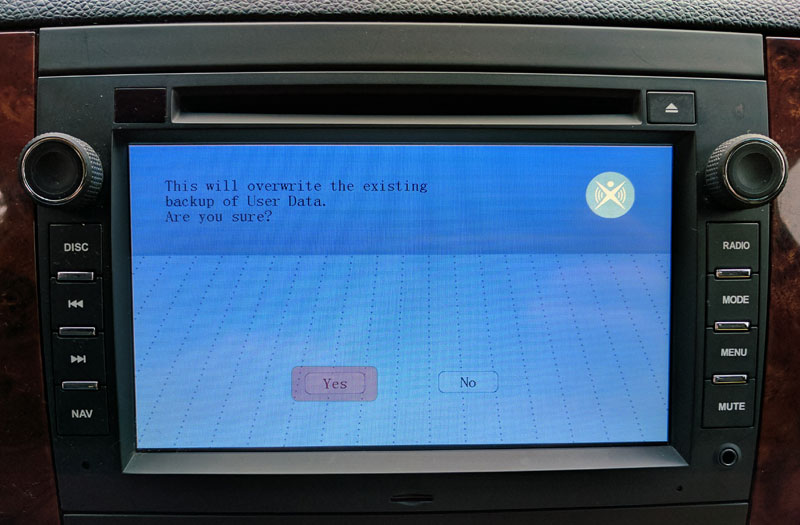 | Hit “Yes” to download data to USB device |
 | Once the backup has finished, press “Quit” and remove the USB device. Bring the USB device to your computer and open the “Updates”-“BACKUP_SAVE” directory. Open the “Profiles”-“01” directory (or the highest number on the card if you have done multiple backups) Open “system.ini” with any text editor |
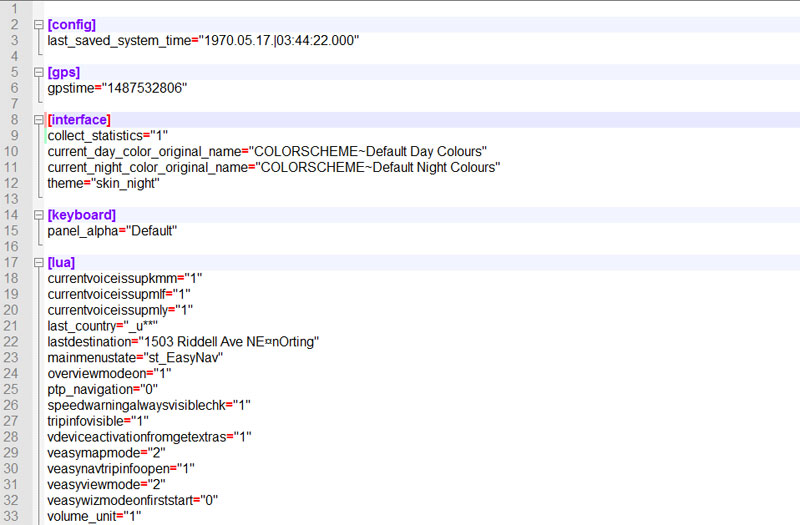 | This is the partial contents of the system.ini file. Yours may have different data, but the sections should be the same. In order to do our mod, we are going to change two lines under the [INTERFACE] section. DO NOT CHANGE ANY OTHER DATA IN THIS FILE! CHANGE ONLY WHAT IS INDICATED BELOW! |
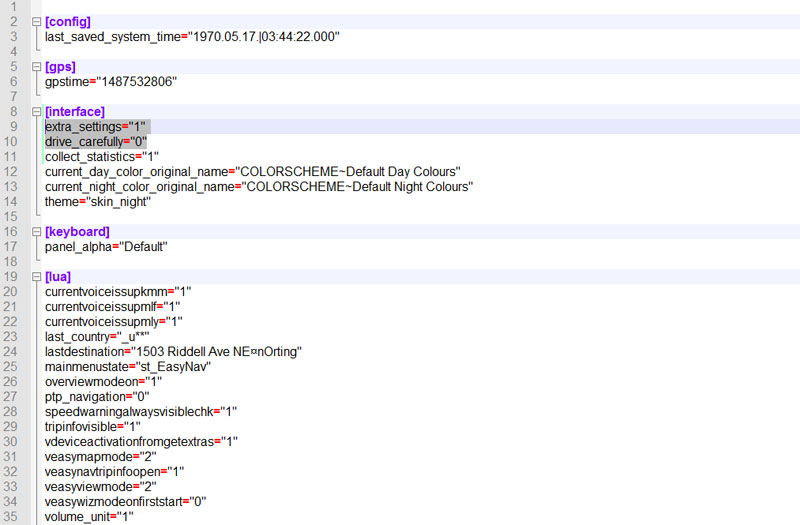 | Under the [INTERFACE] section, add the following lines EXACTLY as you see below: extra_settings=”1″ |
 | When you have added the two lines of text, verify the file looks like the image at left, then save the file, overwriting the original (if asked) |
| |
| SyncTool Menu will pop up |
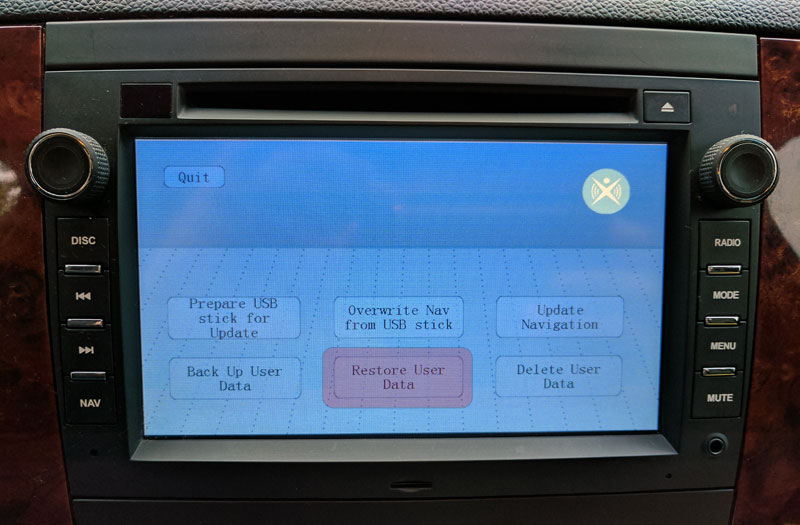 | Choose “Restore User Data” |
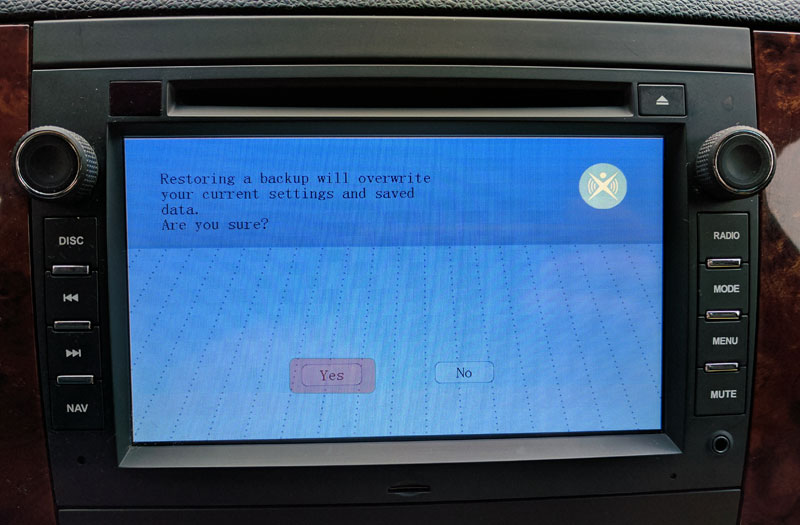 | Press “Yes” to begin restore |
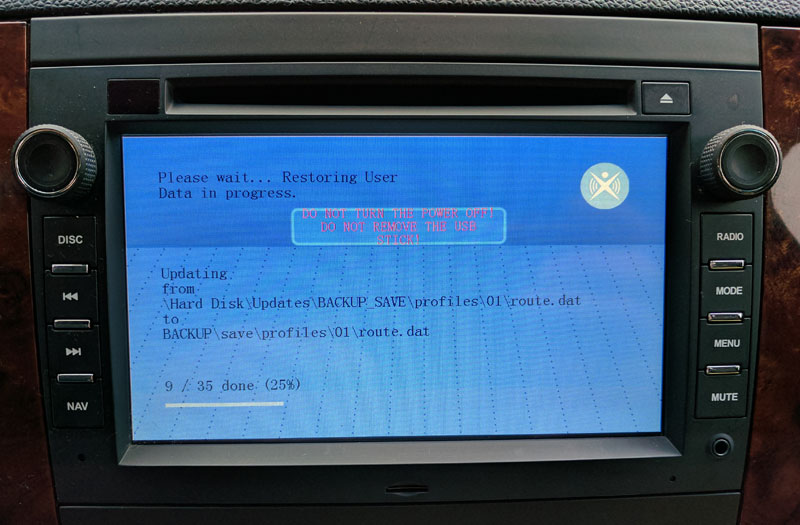 | System will begin restoring data – wait until it finishes |
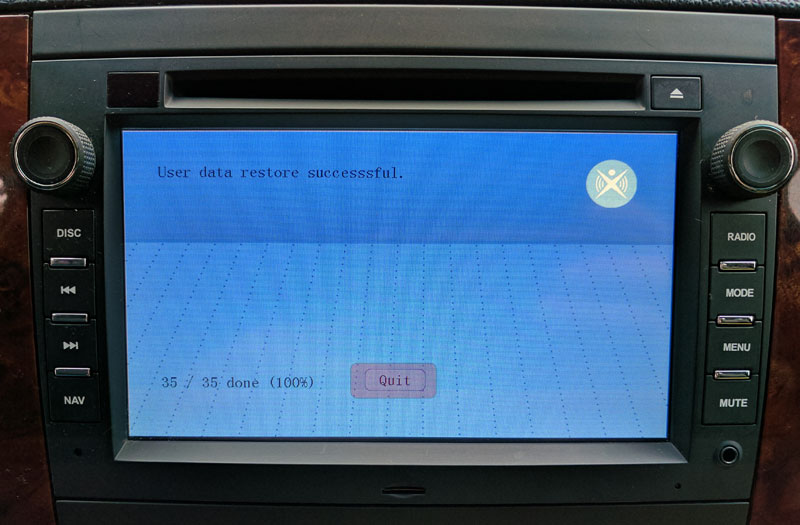 | When finished, choose “Quit” to exit SyncTool |
| Now power down the system and do a full reboot (wait until fan stops in the unit before turning the key back on). When the radio starts up, wait a minute or so before you press the “NAV” button on the radio (this gives the iGo Primo system a chance to boot up in the background). Press “NAV” and the display should go directly to the map, bypassing the “ACCEPT” button! | |