
Rosen/Car Show Splash Screens: Military
|
||
| Rosen & Car Show OE Navigation units have the ability to have the “splash screen” (the first screen seen during the bootup process) customized to your individual taste and is a great way to personalize the unit.
The splash screen can be changed as many times as you like, as long as the following installation process is followed every time. |
||
Installing the Splash Screen: |
||
| The splash screen update process requires a BLANK Micro SD card, a Micro SD card reader to allow you to copy files from the computer to the card, and a basic knowledge of file operations. If you don’t possess the proper adaptors or skills required, please do not attempt the update – although no permanent damage will be done to the unit if the update is done improperly, we provide only limited technical support for splash screen updates, and cannot spend unlimited time troubleshooting any issues that may arise due to improper installation.To update the splash screen, you must use a BLANK Micro SD card (16gb max), which will be inserted in the slot below the touchscreen. Two files will be copied to it: sysupdat.ini and Logoup.bmp. IMPORTANT: There cannot be any other files or folders on this card besides the two update files.
Step 1: Insert your Micro SD card into a reader on your computer, then download the installation files and extract the two files inside (sysupdat.ini and Logoup.bmp) to your Micro SD card. Step 2:The images below are linked to an individual .zip file containg the .bmp image file you will need to install the splash screen. Click on the picture and your browser will ask you to open the .zip file or save it, or you can right click on the image and “Save link as” to save the .zip file to your hard drive. Open the .zip file and copy the file inside to your micro SD card, then rename this file “Logoup.bmp”, overwriting the existing “Logoup.bmp” file. For example: if you downloaded buick_burl_brushed_map.zip, the file inside must be renamed from buick_burl_brushed_map.bmp to Logoup.bmp and placed on the micro SD card. Step 3: Once your splash screen file is downloaded, renamed and copied to the Micro SD card, verify that you have only the two update files (Logoup.bmp and sysupdat.ini) on the card, then remove the Micro SD card from the computer and insert it into the Rosen/Car Show navi SD card slot (IMPORTANT: insert into the navi system with the terminals facing UP). Step 4: Turn the key on, and as the radio boots up, the new splash screen should automatically load and display on the screen. Let the radio boot up completely, then shut off the key and remove the SD card. Turn the key back on to verify the splash screen loaded correctly. You are done! Troubleshooting: If no splash screen loads, check to verify you have only two files on the Micro SD card: “Logoup.bmp and “sysupdate.ini” NOTE: SPELLING AND CASE IS IMPORTANT – THE FILES MUST BE NAMED EXACTLY AS YOU SEE HERE. Remember – there cannot be any other files or folders on the Micro SD card besides the two update files! If you get a white “garbled” splash screen instead of the image you downloaded, the .zip file that was downloaded is most likely corrupted – try the download again or try another file. If you download any files that are corrupted, please notify us and we’ll fix it ASAP. |
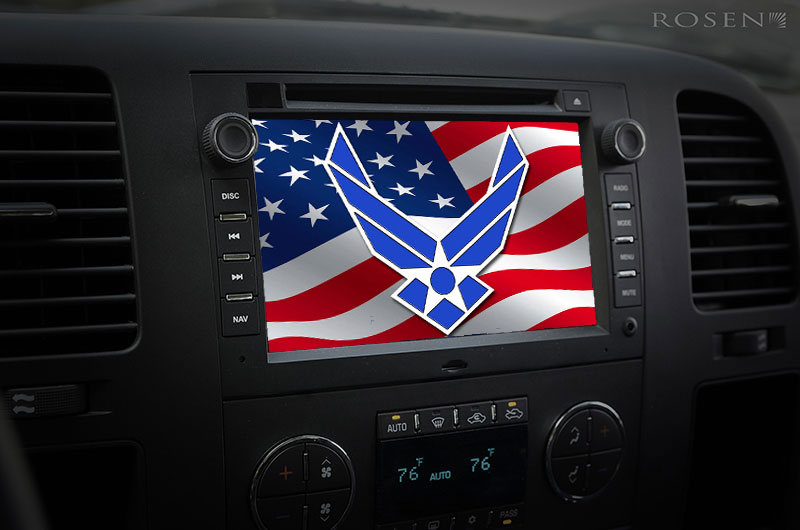
Downloadable files: |
||
 |
 |
 |
 |
 |
 |
 |
 |
 |
 |
 |
 |
 |
 |
 |
 |
 |
 |
 |
 |
 |